
Key Takeaways
Structural drying in Chula Vista is a measurement-driven process designed to remove moisture from building materials and hidden cavities after leaks or flooding, not just make a space “feel dry.” The most reliable outcomes come from fast extraction, balanced airflow and dehumidification, and documented monitoring until materials reach appropriate moisture levels relative to unaffected areas.
- Verification-based drying goals: Professional dry-outs focus on restoring materials like drywall, framing, and subfloors to appropriate moisture content ranges compared to dry reference areas, because moisture can remain behind baseboards, in insulation, or under flooring even when surfaces look normal.
- Balanced airflow and humidity control: Air movers speed evaporation, but dehumidifiers are required to keep indoor humidity from rising—especially since bringing in humid coastal air by opening windows can reduce efficiency and extend drying timelines.
- Material limits and access needs: Some components may dry in place in cleaner water losses caught early, but swollen or delaminated products, saturated insulation, contaminated water exposure, or areas where readings stop improving often require removal or strategic openings to avoid trapped moisture.
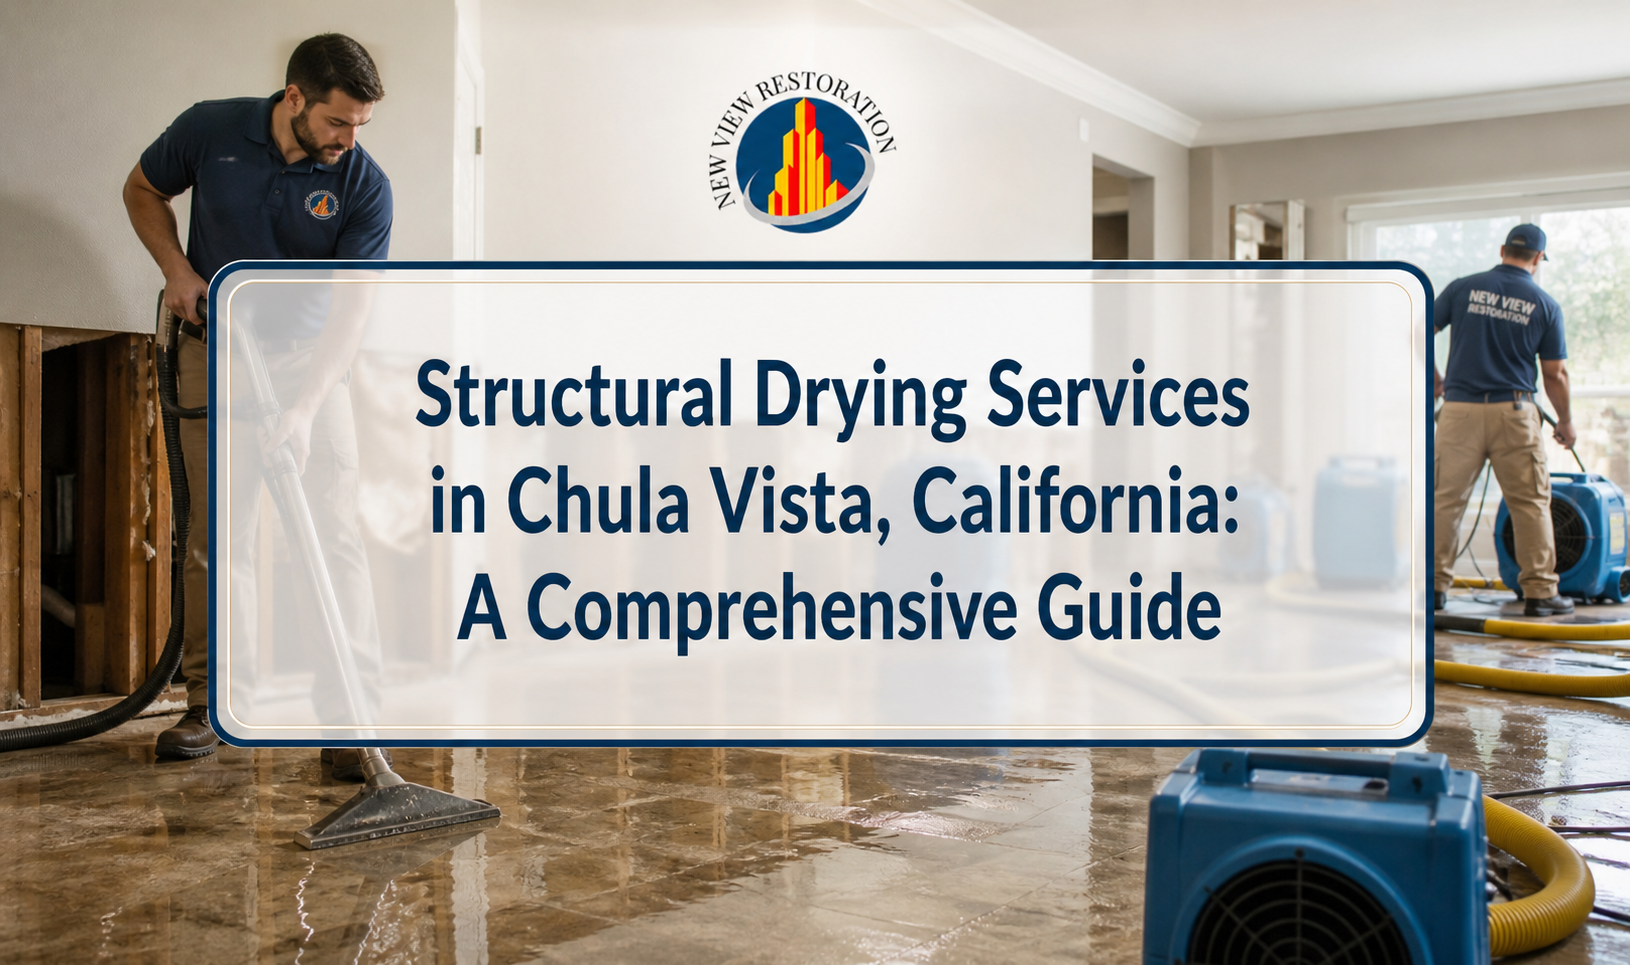
Structural drying Chula Vista services are used to remove moisture from building materials after water intrusions such as plumbing leaks, appliance failures, roof leaks, or flooding. The goal is to dry affected areas thoroughly and safely so materials like drywall, framing, subfloors, and insulation don’t retain hidden moisture that can lead to ongoing deterioration.
Effective structural drying typically involves a documented process: water extraction, moisture mapping with meters or thermal imaging, controlled air movement, dehumidification, and regular monitoring until target moisture levels are reached. In coastal and occasionally humid conditions, balancing temperature, airflow, and humidity is critical to avoid trapping moisture in wall cavities or under flooring and to reduce the risk of secondary damage.
This guide explains how structural drying works, what equipment and measurements are commonly used, how long drying may take, and what to expect during a professional dry-out in Chula Vista, California.
How structural drying works after water damage
Structural drying is a controlled process that removes moisture from building materials and hidden cavities while minimizing secondary damage like warping, corrosion, and microbial growth. A proper dry-out combines extraction, measurement, equipment setup, and verification-based monitoring.
In a typical Chula Vista water loss, drying isn’t just about making the space “feel dry.” Water can wick upward behind baseboards, soak into drywall paper, saturate insulation, and migrate under flooring—especially when the leak went unnoticed. Professional structural drying focuses on restoring materials to appropriate moisture content ranges (relative to unaffected areas), not simply running fans for a few days.
While every loss is different, most projects follow the same technical sequence:
- Stop the water source (repair, shutoff, or containment).
- Remove standing water and reduce surface moisture quickly.
- Map moisture in materials and air to define the drying plan.
- Control evaporation with air movement and temperature management.
- Control humidity with dehumidification and containment when needed.
- Monitor and document until drying goals are met.
Step-by-step drying process used by professionals
A professional dry-out is built around measurement-driven decisions: where to place equipment, when to adjust settings, and when materials are actually dry. The details matter because improper drying can trap moisture and prolong damage.
1) Water extraction and removal of unsalvageable wet materials
Extraction removes bulk water fast, which is usually the biggest factor in shortening drying time. In some situations, selective removal of wet porous materials helps the structure dry more effectively.
Common extraction methods include truck-mounted or portable extraction, weighted extraction tools for carpet, and squeegee/wand techniques for hard surfaces. If drywall, insulation, or particleboard cabinetry has been wet long enough to swell, delaminate, or lose integrity, drying may not restore it reliably—especially if contamination is involved.
- Carpet and pad: may be extracted and dried in place in clean-water events, but padding often needs replacement depending on saturation and time.
- Drywall: may dry in place if minimally affected; heavier saturation may require flood cuts or panel removal to open cavities.
- Insulation: often holds water and slows drying; removal is common if it’s saturated.
2) Moisture mapping (finding hidden wet areas)
Moisture mapping identifies how far water traveled so drying equipment targets the full affected area. This step reduces the risk of leaving damp sections behind walls or under floors.
Technicians often combine multiple tools because no single device “sees everything”:
- Non-invasive moisture meters: scan surfaces quickly to locate likely wet zones.
- Pin-type meters: measure moisture content in wood and confirm readings in framing, subfloors, and trim.
- Thermal imaging: helps visualize temperature differences that may indicate evaporative cooling from wet materials (confirmation is still needed with meters).
- Hygrometers/thermo-hygrometers: track ambient relative humidity, temperature, and sometimes grains per pound (GPP) for drying performance.
If you suspect moisture is trapped behind finishes, a focused moisture & leak detection evaluation can help pinpoint the wettest areas so drying is more precise and less invasive.
3) Controlled air movement (evaporation)
Airflow accelerates evaporation from wet surfaces, but more air isn’t always better if it causes humidity to spike. The goal is balanced circulation across wet materials while maintaining effective dehumidification.
Air movers are typically positioned to push air across walls, baseboards, and floors at shallow angles rather than blasting directly into one spot. In multi-room losses, technicians may create airflow “paths” so air doesn’t stagnate in corners or closets.
- Standard air movers: used for general wall and floor drying.
- Low-profile units: fit under cabinets and tight areas.
- Targeted drying systems: may be used for hardwood floor assemblies or certain cavity-drying approaches.
4) Dehumidification (humidity control)
Dehumidifiers pull moisture out of the air so evaporation can continue without saturating indoor humidity. This is a key part of structural drying in Chula Vista, where coastal conditions can slow drying if humidity isn’t controlled.
Two common dehumidifier categories are used depending on conditions:
- Refrigerant (LGR) dehumidifiers: widely used for warm, humid conditions; effective for many residential losses.
- Desiccant dehumidifiers: sometimes used when lower dew points are needed or in cooler environments, or when materials are difficult to dry.
Dehumidification is also why doors and windows are often kept closed during drying. Pulling in moist outdoor air can reduce efficiency and extend the drying timeline. If you want a deeper explanation of the mechanics, see how dehumidification works in San Diego.
5) Containment and pressure control (when appropriate)
Containment is used when drying needs to be isolated or when there’s risk of spreading dust or odors. Pressure control becomes more important if demolition is required or if contamination is suspected.
Depending on the category of water (clean vs. contaminated) and the work being performed, a drying team may use plastic barriers, zipper doors, and air filtration devices to reduce cross-contamination. Not every clean-water loss requires containment, but it can be helpful in open floor plans where humidity control is harder.
6) Daily monitoring and documentation
Monitoring verifies that the drying environment is working and that materials are moving toward dry standards. Documentation is also useful for communicating progress with property owners and, when applicable, insurers.
Typical monitoring includes checking moisture levels in affected materials, taking ambient readings, and adjusting equipment counts or placement. It’s normal for equipment to be moved as the “wettest point” changes over time.
- Material readings: framing, drywall, subfloors, and trim compared to unaffected reference areas.
- Environmental readings: temperature and relative humidity to confirm evaporation and dehumidification are balanced.
- Visual checks: staining, swelling, fastener rust, cupping floors, or odor changes.
Equipment commonly used during structural drying
Drying equipment is selected based on the materials affected, how deeply water penetrated, and how much humidity must be removed from the air. The right setup speeds drying and reduces unnecessary tear-out.
- Air movers: increase evaporation from wet surfaces and promote circulation.
- Dehumidifiers: remove moisture from the air; commonly LGR, sometimes desiccant.
- HEPA air scrubbers (as needed): reduce airborne particulates during demolition or in higher-risk situations.
- Moisture meters: pin and non-invasive meters for different materials and depths.
- Thermal imaging cameras: assist with locating potential moisture anomalies for confirmation.
- Injectidry or cavity drying tools (as needed): targeted drying behind cabinetry, under certain flooring systems, or inside wall cavities when suitable.
Not every job requires specialty systems. For example, minor supply-line leaks on tile may dry with basic extraction, airflow, and dehumidification—while saturated hardwood, multi-layer assemblies, or concealed water migration often needs a more tailored approach.
Drying timelines: what affects how long it takes
Drying time varies because water behaves differently in different assemblies and because environmental conditions change day to day. Many residential structural drying projects take several days, but longer timelines are possible when water is trapped in complex building layers.
Key variables that influence drying duration include:
- How long materials were wet: a slow leak that ran for weeks can saturate deep layers.
- Material type: hardwood and dense plaster can behave differently than drywall and softwood framing.
- Assembly complexity: multiple floor layers, insulation, vapor barriers, and tight cavities can trap moisture.
- Category of water: contaminated water may require removal rather than drying in place.
- Indoor/outdoor conditions: coastal humidity, temperature swings, and ventilation patterns affect evaporation rates.
- Equipment strategy: correct dehumidifier sizing, airflow placement, and containment improve performance.
It’s also common for drying to slow in later stages. The “easy” moisture evaporates early; the remaining moisture is often bound deeper in materials, requiring more time and careful control to avoid over-drying certain components while others remain wet.
Material-specific considerations in Chula Vista homes and buildings
Different building materials require different drying tactics because they absorb, retain, and release water differently. Understanding these differences helps prevent avoidable replacement—or prevents trying to save materials that won’t recover.
Drywall, paint systems, and insulation
Drywall can hold moisture along the bottom edge and behind baseboards, even when the surface looks normal. Insulation can act like a sponge and slow the dry-out if it remains saturated.
- Drywall: may be dried in place if minimally affected and accessible for airflow; may require strategic cuts to open cavities.
- Insulation: if wet, it often needs removal so framing can dry and be verified.
- Paint: can slow drying if it forms a vapor barrier; trapped moisture can cause bubbling or peeling later.
Hardwood and engineered wood floors
Wood floors can cup, crown, or gap depending on where moisture enters and how quickly drying occurs. Floor drying is highly sensitive to timing and equipment selection.
Hardwood may be a candidate for in-place drying when addressed early, but each floor system is different (solid vs. engineered, nail-down vs. glue-down). If you’re dealing with wet wood flooring, see hardwood floor drying for service-specific details and what can influence salvageability.
Subfloors, framing, and structural cavities
Subfloors and framing can hold moisture longer than expected, especially where water migrated under cabinets or between floors. Drying these components often requires measurement at multiple depths and locations rather than relying on surface readings.
- Plywood/OSB subfloors: can swell and delaminate if wet for extended periods.
- Wall cavities: may need access points for airflow or targeted drying tools.
- Under cabinets/toe-kicks: common places for hidden saturation after kitchen or dishwasher leaks.
Reference table: key measurements used to guide structural drying
Professionals rely on both material and air measurements to confirm progress and avoid leaving moisture behind. The table below outlines common metrics and practical local considerations that can matter in Chula Vista’s coastal-influenced conditions.
| Feature / Metric | What it tells the drying team | Local considerations (Chula Vista) |
|---|---|---|
| Moisture content (MC) in wood (pin meter) | How wet framing/subfloors are compared with unaffected reference materials; confirms “dry” at depth. | Coastal humidity can slow equalization; comparing to dry reference areas inside the same structure helps avoid misleading targets. |
| Non-invasive meter scans | Rapid screening to find likely wet zones behind surfaces and prioritize where to test more precisely. | Useful for spotting moisture migration patterns common from slab leaks, bathrooms, and kitchens without immediately opening walls. |
| Temperature & relative humidity (thermo-hygrometer) | Whether air conditions support evaporation and dehumidification; helps determine if HVAC settings should be adjusted. | Outdoor marine air can increase indoor RH if windows are opened; keeping the drying environment controlled is often more effective. |
| Thermal imaging (verification with meters) | Helps locate potential wet areas by detecting temperature differences caused by evaporation or water presence. | Works best as a locating tool; confirmation with moisture meters helps avoid false positives from HVAC drafts or sun exposure. |
| Odor and visual changes (supporting observations) | May indicate lingering moisture, microbial activity, or materials that aren’t drying uniformly. | If musty odors persist after drying, investigate concealed spaces; mustiness can signal moisture that never fully resolved. |
Risks of incomplete drying (and how to avoid them)
When materials are left damp, problems can continue long after the visible water is gone. The most common issues involve odor, material breakdown, and conditions that support mold growth.
Water damage isn’t only about visible staining; it can include swelling, loss of structural integrity in certain products, corrosion of fasteners, and ongoing dampness in cavities. For a plain-language overview of what can happen to a building after a water event, see water damage.
- Trapped wall moisture: can lead to paint failure, baseboard separation, and recurring odor.
- Flooring distortion: cupping/crowning and adhesive failure can occur if moisture remains in subfloors.
- Microbial amplification: elevated moisture over time increases the likelihood of mold growth on cellulose-based materials.
- Electrical and mechanical concerns: wet building cavities can affect outlets, low-voltage systems, or HVAC components in affected zones.
Avoiding these problems usually comes down to two principles: dry fast (after extraction) and verify with readings. If the indoor air “feels” dry but material readings remain elevated, equipment adjustments or strategic access may still be needed.
When structural drying requires demolition (and when it may not)
Some wet materials can be dried in place, while others must be removed to properly dry the structure and prevent lingering contamination. The decision depends on water category, time wet, and material behavior.
Situations more likely to require removal include:
- Contaminated water exposure: sewage or water with visible contamination typically requires removal of impacted porous materials.
- Swollen/delaminated products: bulging drywall, crumbling MDF/particleboard, or de-bonded flooring layers.
- Insulation saturation: especially when it blocks drying of framing.
- Persistent high readings: areas that do not respond to drying despite correct equipment and containment.
In cleaner water losses caught early, drying in place may be reasonable with proper measurement, airflow, and dehumidification. When access is limited, small openings (rather than full demolition) may sometimes be used to improve cavity drying—though it’s not appropriate for every assembly.
What to expect during a professional dry-out in your home
Most structural drying projects involve noise, warm air movement, and temporary layout changes while equipment runs. Knowing what’s normal helps you protect the drying environment and avoid delays.
- Equipment placement: air movers and dehumidifiers will be staged for airflow efficiency; cords and hoses may be present.
- Controlled environment: doors/windows are often kept closed, and HVAC settings may be adjusted to support drying.
- Regular visits: readings are taken and equipment is moved or reduced as drying progresses.
- Limited room use: some rooms may be partially inaccessible to avoid disrupting airflow or containment.
If odors are part of the concern—especially after a slow leak or recurring dampness—this can be a clue that moisture is still present in hidden materials. Related guidance is covered in why a home can smell musty in Chula Vista.
Choosing structural drying help in Chula Vista: practical vetting checklist
Because drying outcomes depend on measurement and method, it’s worth asking specific, process-based questions. The goal is to confirm that the provider is verifying dryness rather than guessing.
- Will you document moisture mapping and daily monitoring? Ask what tools will be used and how “dry” will be confirmed.
- How will you prevent trapped moisture? Look for clear plans for wall cavities, under flooring, and under cabinets.
- What is the plan for containment or air filtration if needed? Especially important when materials are being removed.
- How will equipment be adjusted over time? Drying should be dynamic, not a set-and-forget setup.
- What happens if readings stop improving? The answer should involve reassessment, not just “more fans.”
Structural drying Chula Vista projects go best when expectations are clear: which rooms are affected, what will be removed (if anything), how progress will be tracked, and what the final verification will look like.
Getting back to normal: the final verification that matters
The most important part of structural drying is proving the building materials are dry enough to move forward with repairs. A thorough close-out includes final readings and a clear explanation of what was dried, what was removed, and what still needs rebuilding.
Before re-installing baseboards, flooring, cabinets, or insulation, it’s reasonable to ask for final moisture documentation (or at least a walkthrough showing dry standard comparisons). If rebuilding starts while hidden moisture remains, you can end up sealing water into cavities—creating odors, finish failures, and a higher risk of mold later.
If you’re unsure whether the structure is fully dry, or if you’re seeing repeated staining or musty smells after a “drying” attempt, it’s often worth re-checking moisture in the most failure-prone areas: behind baseboards, around kitchens and baths, under flooring transitions, and near the original source of the leak.
Frequently Asked Questions
Get structural drying help that’s guided by moisture readings—not guesswork
If your Chula Vista property has had a leak or flood, hidden moisture can linger in drywall, subfloors, and cavities even after surfaces look dry. Reaching safe moisture levels before repairs begin helps protect finishes, reduce odor issues, and avoid rework caused by trapped dampness.
A professional assessment can clarify what’s truly affected, what can be dried in place, and what may need removal based on measurements and ongoing monitoring—especially in coastal humidity where drying conditions can change quickly.


