
Key Takeaways
Apartment water damage cleanup in Chula Vista is most effective when you prioritize first-hour safety, stop the water source if possible, and document conditions before materials swell or moisture spreads into hidden cavities. Because “it looks dry” can still leave wet drywall, flooring, and cabinets in multi-unit buildings, moisture checks and controlled drying are often needed before repairs move forward.
- First-hour safety and source control: Avoid switches, outlets, and sagging ceilings, shut off water only when it’s safe to do so, and notify property management immediately when water involves ceilings, shared walls, or another unit.
- Documentation that supports shared-building decisions: Photograph the source, water path, and every affected material and personal item, and keep a time-stamped log of when you discovered the damage, actions taken, odors noticed, and who you contacted.
- Water category and hidden moisture determine cleanup limits: Clean, gray, contaminated, and unknown-source water require different handling, and in apartments surface drying and fans alone may miss moisture behind baseboards, under cabinets, or under floating floors where professional moisture mapping and targeted drying may be needed.
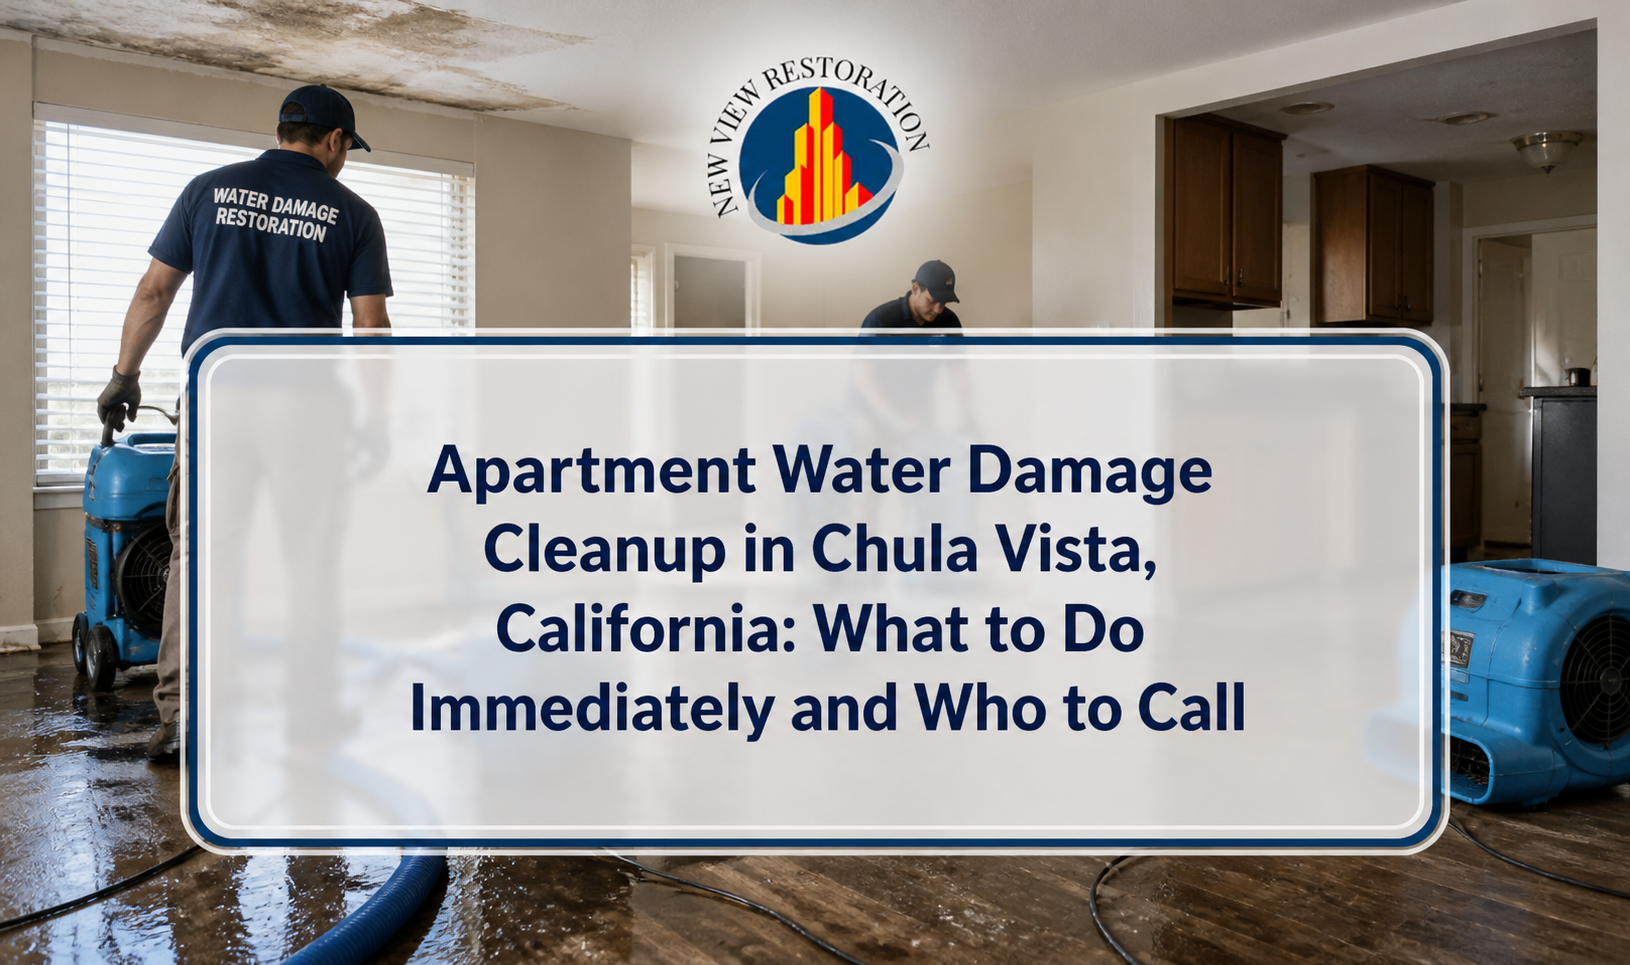
Apartment water damage cleanup Chula Vista starts with stopping the water source, shutting off electricity to any affected areas, and documenting the damage before materials begin to swell, warp, or grow mold. If water is coming from a shared line or another unit, notify your property manager immediately and avoid using outlets, appliances, or ceiling lights near wet drywall.
In apartments, water can travel quickly through walls, cabinets, and flooring, so “surface drying” often isn’t enough. Clean water from a supply line, gray water from sinks or laundry, and contaminated water from backups require different handling, and improper cleanup can leave hidden moisture that damages subfloors and framing. For safety, treat any unknown source as potentially contaminated and keep children and pets out of the affected area.
This guide explains what to do in the first hour, what to photograph and save for records, and who to call for emergency extraction, drying, and moisture checks so the unit can be stabilized and repairs can move forward.
First-hour checklist for apartment water damage in Chula Vista
The first hour is about safety, stopping spread, and preserving evidence—before water wicks into drywall, baseboards, and flooring seams. Move quickly, but don’t take electrical or contamination risks.
1) Make the area safe (electricity, slip hazards, contaminated water)
Water and electricity are a dangerous combination, and even “clean” leaks can turn unsafe after contacting building materials. If you’re unsure what category the water is, treat it as contaminated and avoid direct contact.
- Stay out of rooms with sagging ceilings or bubbling drywall; wet gypsum can fail suddenly.
- Do not use ceiling lights, switches, or outlets near wet walls or ceilings.
- If water is near electrical panels or major appliances, shut off power at the breaker only if you can do so safely (dry footing, no standing water).
- Wear shoes with traction; wet tile and vinyl can be slick.
- Keep pets and children away from the affected area until it’s assessed and stabilized.
2) Stop the water source (without causing more damage)
Stopping the leak prevents exponential damage, but in multi-unit buildings it may require coordination with management. If you cannot safely stop the source, focus on limiting spread while help is dispatched.
- Identify the source: supply line, drain/overflow, appliance, roof/window intrusion, or an upstairs unit.
- If it’s your fixture or appliance, shut off the local valve (toilet, sink, washing machine).
- If a valve won’t turn or is leaking, stop and notify maintenance; forcing old valves can worsen the leak.
- If the source appears shared (walls/ceilings wet, water from light fixture, or a neighboring unit), notify your property manager right away.
- Place buckets under active drips and use towels to redirect water away from outlets and baseboards.
3) Limit spread and remove what you can—without “locking in” moisture
Removing excess water and improving airflow can slow damage, but apartments often hide moisture behind finishes. The goal is to prevent worsening conditions while you wait for extraction and moisture checks.
- Blot and mop up standing water; extract with a wet/dry vacuum only if the water source is known to be clean and the equipment is safe to use.
- Lift items off the floor (books, electronics, fabric bins) and place them on a dry surface.
- Pull area rugs up and hang-dry if they’re not saturated with contaminated water.
- Open interior doors to improve air circulation; use fans only if power is safe and no contamination is suspected.
- Avoid cranking the HVAC to “dry it out” if you suspect contamination or mold; it can spread odors and particles.
Documenting damage for apartments: what to photograph and what to save
Good documentation helps clarify responsibility in shared buildings and supports insurance or tenant-landlord repair decisions. Record the condition early—materials can change within hours as swelling and staining develop.
What to photograph (wide, mid, and close-up)
Capture the “story” of the loss: source, path, and impacted materials. Include angles that show where the water came from and how far it spread.
- Source indicators: wet ceiling areas, plumbing under sinks, behind toilets, around appliances, window tracks, balcony thresholds.
- Water pathways: stained baseboards, damp carpet edges, swollen laminate seams, wet cabinet toe-kicks.
- Structural clues: bubbling paint, sagging drywall, warped trim, delaminated flooring.
- Personal property: furniture legs, electronics, rugs, clothing, stored items in closets.
- Moisture patterns in adjacent rooms (water often travels under walls and through shared chases).
What to write down (details that photos don’t capture)
A short written log can prevent confusion later, especially if multiple parties are involved. Keep it factual and time-stamped.
- Date/time you discovered the water and when you last saw the area dry.
- Any actions taken (shut-off attempts, towels placed, buckets used, power shut off).
- Names/contact info for property management, maintenance, or neighbors involved.
- Any unusual smells (musty, sewage-like) or visible debris in the water.
Know what you’re dealing with: clean water vs. gray water vs. contaminated water
Not all water damage is equal—handling depends on the likely contamination level and where the water came from. If you can’t confirm the source, assume it’s higher risk and avoid DIY cleanup beyond basic safety steps.
| Water Source Type | Typical Examples in Apartments | Handling Notes (Practical Guidance) |
|---|---|---|
| Clean water (lower contamination risk at the source) | Broken supply line, angle stop leak, tub faucet drip that overflowed (initially) | Can become contaminated after contacting flooring, drywall, or contents; quick extraction and professional drying helps prevent mold. |
| Gray water (may contain chemicals/organics) | Sink overflow, dishwasher leak, washing machine discharge, shower/tub backup | Avoid skin contact; porous items may not be salvageable; disinfection and controlled drying are often needed. |
| Contaminated/black water (higher health risk) | Sewage backup, toilet overflow with solids, water from unknown outside sources | Treat as hazardous; keep people out; professional sewage cleanup and disposal of affected porous materials is commonly required. |
| Unknown source | Water appearing through ceiling, shared walls, or under baseboards without a clear origin | Assume contamination and hidden spread until moisture mapping confirms otherwise; prioritize source tracing and safety. |
For background on how water damage impacts materials and why drying speed matters, see water damage.
Why “it looks dry” isn’t enough in multi-unit buildings
Apartment water damage cleanup in Chula Vista often fails when only visible surfaces are addressed. Water can migrate through drywall, insulation, under cabinets, and along slab edges—leaving moisture trapped where you can’t see it.
Hidden moisture hotspots in apartments
These areas routinely stay wet long after the floor appears dry. If they’re missed, they can swell, delaminate, corrode, or develop microbial growth.
- Behind baseboards and lower drywall (wicking can rise several inches or more depending on exposure).
- Cabinet bases and toe-kicks, especially under sinks and dishwashers.
- Under floating floors (laminate/LVP) where water travels along seams.
- Carpet pad and tack strip at perimeter walls.
- Shared plumbing chases and wall penetrations (bathroom and kitchen back-to-back walls).
- Ceiling cavities below an upstairs kitchen, laundry, or bathroom.
Moisture checks: what pros do that fans alone can’t
Professional stabilization typically includes moisture mapping and targeted drying strategies, not just air movement. This is especially important when responsibility is shared between units.
- Non-invasive moisture meters to identify damp drywall and trim.
- Thermal imaging as a screening tool to locate temperature differences that can indicate moisture (confirmation still requires meter readings).
- Controlled drying with dehumidification to remove water vapor from the air and materials.
- Selective removal (for example, a “flood cut” on drywall) when needed to access wet cavities and prevent trapped moisture.
Practical steps while you wait for extraction and drying
These actions reduce secondary damage and odors without creating new problems. Avoid aggressive DIY demolition or chemicals unless you’re confident about the water category and the building’s rules.
Do: stabilize and isolate
Stabilization protects your belongings and limits how far water travels. Isolation helps prevent odors and moisture from spreading to closets or bedrooms.
- Place aluminum foil or plastic under furniture legs to reduce staining and swelling.
- Move items from low shelves and closets near the wet area.
- If safe, set the thermostat to a normal comfort range and increase ventilation; extreme heat can warp materials and may not dry cavities.
- Keep doors to unaffected rooms closed if there’s odor or suspected contamination.
Don’t: create bigger repair issues
Some “common sense” actions backfire in apartments, especially when moisture is hidden. When in doubt, pause and let a qualified team evaluate.
- Don’t paint over stains or run strong fragrances; it can mask active moisture and delay proper repairs.
- Don’t remove baseboards or cut drywall unless authorized; you may be responsible for additional repairs.
- Don’t run fans directly at suspected contaminated water; it can aerosolize particles and worsen odor spread.
- Don’t plug in dehumidifiers or fans in wet areas if outlet safety is uncertain.
Who to call: property manager, plumber, or restoration team?
In apartment buildings, the “right first call” depends on whether the leak is active and whether it involves shared infrastructure. Often, you need both: a plumber to stop/repair the source and a restoration team to dry and document conditions.
Call property management first when:
Management typically coordinates access to shared shut-offs, neighboring units, and building-approved vendors. Fast reporting also protects you if the source is outside your unit.
- Water is coming from a ceiling, shared wall, or hallway.
- You suspect an upstairs unit, roof, window, or exterior intrusion.
- The shut-off valve is inaccessible or appears to control multiple units.
- There’s visible water in common areas (stairwells, corridors).
Call a plumber/leak detection when:
If the source isn’t obvious or keeps recurring, leak detection helps avoid repeat damage and repeated drying cycles. This can be crucial when moisture shows up far from the suspected source.
- Water appears intermittently (for example, only when neighbors run laundry or when it rains).
- There’s a high water bill or the sound of running water with no fixtures on.
- You see staining but no active leak (slow leaks can still saturate framing and subfloors).
Call restoration for extraction/drying when:
Once the source is controlled (or while it’s being controlled), drying and moisture verification are the next critical steps. This is where many apartment losses either stabilize—or turn into long-term odor, swelling, and mold issues.
- Water has reached flooring seams, carpet pad, cabinetry, or drywall.
- There’s sagging ceiling drywall or widespread wet baseboards.
- You need moisture readings to support repair decisions or claims.
- Odors begin to develop within 24–48 hours, suggesting ongoing moisture.
If you need professional stabilization, water damage cleanup is often the most direct way to handle extraction, drying equipment setup, and moisture monitoring in a time-sensitive apartment situation.
Odors, swelling, and mold risk: what to watch for over the next 72 hours
Even when the visible water is gone, moisture can remain in cavities and under finishes. Early warning signs help you decide when to escalate from basic drying to deeper moisture investigation.
Signs the unit may still be wet behind surfaces
These symptoms suggest moisture is trapped and needs professional evaluation. Waiting can increase demolition needs and prolong displacement.
- Persistent musty odor, especially in closets or near baseboards.
- Paint blistering, bubbling, or soft drywall at the bottom edge.
- Flooring that cups, crowns, feels spongy, or separates at seams.
- Cabinet bottoms swelling or doors going out of alignment.
- Stains that grow in diameter after the “leak is fixed.”
If odor is your first clue, it may help to review why a home can smell musty in Chula Vista, especially after minor leaks that were initially overlooked.
Apartment-specific repair decisions: what can be dried vs. what may need removal
Whether materials can be saved depends on water category, duration, and how accessible the wet layers are. In apartments, access constraints and shared assemblies often influence the decision as much as the material itself.
Materials that are sometimes salvageable (case-by-case)
Some materials dry well when addressed quickly with proper equipment and verification. Salvageability depends heavily on contamination level and how long moisture was present.
- Drywall: may be dried if minimally affected and water is clean; deeper saturation or contamination often requires removal.
- Hardwood and engineered wood: may be saved with rapid extraction and controlled drying, but warping/delamination risk remains.
- Cabinetry: surfaces may recover, but toe-kicks and particleboard components often swell.
- Carpet: face fibers might be cleaned, but pad commonly holds moisture and may need replacement.
Materials commonly removed when contaminated or heavily saturated
Porous materials can retain contaminants and odors, making them hard to safely restore. This is especially true after backups or unknown-source water.
- Carpet pad and low-grade underlayment.
- Drywall and insulation affected by contaminated water.
- Particleboard furniture or cabinet components that have swollen.
- Soft goods (pillows, some rugs) exposed to sewage-contaminated water.
Getting back to normal: a realistic path from cleanup to repairs
A smooth recovery usually follows a sequence: stop the leak, remove water, dry and verify, then repair. Knowing the order helps you avoid premature patching that traps moisture.
- Source control: shut-off and repair (plumbing, appliance, roof/window intrusion, or upstream unit issue).
- Water removal: extraction from floors, carpet, and accessible cavities.
- Drying and dehumidification: controlled airflow and humidity reduction, with monitoring and adjustments.
- Moisture verification: confirm materials are trending dry before closing walls or reinstalling flooring.
- Repairs: drywall/paint, flooring, cabinetry, and any needed electrical checks.
- Final checks: confirm odors are resolved and that staining or warping isn’t continuing to develop.
Apartment water damage cleanup in Chula Vista is often less about what you can see and more about what water did behind the scenes. If you focus on safety, fast documentation, and verified drying, you reduce the chances of lingering odor, recurring stains, and avoidable rebuild work.
Frequently Asked Questions
Get apartment water damage stabilized before hidden moisture becomes a bigger repair
If your Chula Vista apartment has wet drywall, flooring seams, cabinet bases, or a ceiling stain, the next step is confirming what’s still damp behind surfaces—not just what looks dry. A restoration-focused assessment can help document conditions, map moisture spread, and support clear communication with property management and any involved neighbors.
Professional extraction and controlled drying can reduce lingering odors, swelling, and repeated staining, while moisture readings help guide when it’s safe to repair or repaint. If you need help coordinating the cleanup steps after a leak or overflow, reach out for guidance.


